
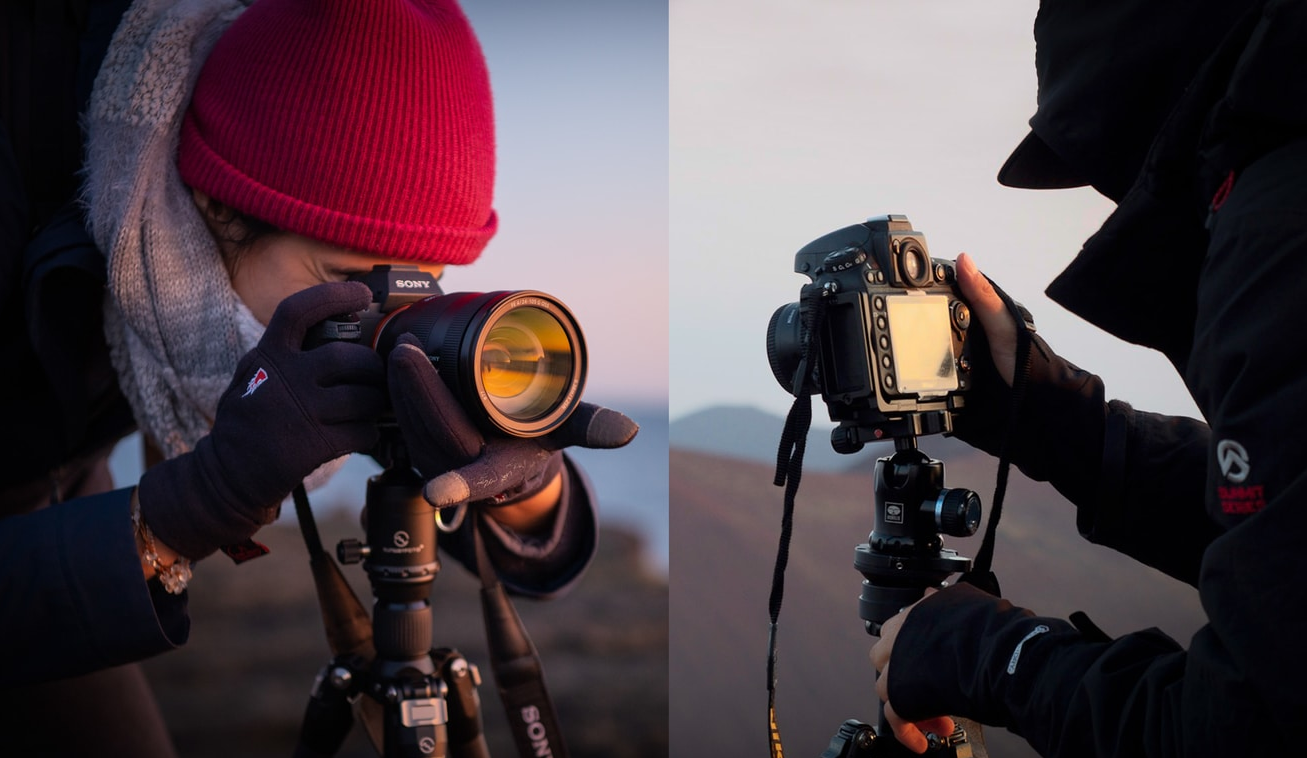
The gap between a quick snapshot and a professional photograph has very little to do with the price tag on the camera. It’s about intention. A professional photographer doesn’t just document what is in front of them; they interpret it. They understand how to manipulate light, guide the viewer’s eye, and wait for the exact fraction of a second when genuine emotion surfaces.
If you want to step out of “auto” mode and start creating images that actually make people stop and stare, here is a breakdown of the core concepts that separate the pros from the amateurs.
The Holy Trinity: The Exposure Triangle

Before you can break the rules for artistic effect, you have to learn the language of your camera. Photography translates literally to “drawing with light.” To control that light, you need to understand the Exposure Triangle. These three settings work together in a constant balancing act.
When you stop relying on the camera to guess what these settings should be, you stop taking pictures and start making them.
| Setting | What It Actually Does | Creative Use |
| Aperture (f-stop) | Controls the size of the opening in the lens. Also dictates depth of field (what is in focus). | Use a wide aperture (like f/1.8) to blur a messy background and make a portrait pop. |
| Shutter Speed | Dictates exactly how long the camera’s sensor is exposed to light. | Use a fast speed (1/1000s) to freeze a runner in mid-air, or a slow one (2s) to make a waterfall look like smooth glass. |
| ISO | Controls the sensor’s sensitivity to the light that hits it. | Keep it as low as possible for crisp, clean images, but bump it up when shooting in dark rooms. |
Chasing the Light

You can have a $5,000 camera body and a top-tier lens, but if your lighting is terrible, your photo will be terrible. Professionals don’t just look at their subjects; they look at the light hitting their subjects.
The Golden Hour Rule: There is a reason photographers obsess over the hour just after sunrise and just before sunset. The sun is low on the horizon, acting like a giant, natural softbox. It wraps everything in warm, flattering light, hides skin imperfections, and stretches out dramatic shadows.
Conversely, shooting at high noon is notoriously difficult. The sun is directly overhead, casting harsh, dark shadows under people’s eyes and blowing out the highlights. If you have to shoot in the middle of the day, hunt for shade. Place your subject under a tree or an awning where the light is even and diffused.
Composition: Telling the Viewer Where to Look

A technically perfect, sharp photo will still fall flat if the composition is boring. Composition is simply how you arrange the elements inside your frame.
- The Rule of Thirds: Imagine a tic-tac-toe board drawn over your viewfinder. Instead of putting your subject dead-center (which often feels static and like a mugshot), place them along one of those intersecting lines. It instantly makes the photo feel more dynamic and balanced.
- Leading Lines: Use the environment to draw an invisible arrow right to your subject. A winding road, a row of trees, a fence, or even the architecture of a hallway can naturally pull the viewer’s eye exactly where you want it.
- Negative Space: Don’t be afraid of emptiness. Leaving a massive amount of blank sky or an empty wall around a small subject creates a striking, minimalist vibe that screams professionalism.
Glass Over Gear: Why Lenses Matter

It is a common rookie mistake to spend your entire budget on a fancy camera body and stick the cheapest possible lens on it. The lens is your camera’s eye. It dictates the sharpness, the color contrast, and the background blur far more than the camera body does.
- Prime Lenses: These don’t zoom. You have to “zoom with your feet” by walking closer or further away. Because they don’t have complex moving zoom parts, they are usually sharper, let in a massive amount of light, and give you that buttery, professional background blur.
- Zoom Lenses: The ultimate tool for convenience and unpredictability. If you are shooting a fast-paced wedding or wildlife, you need to go from wide to tight in a split second without swapping gear.
- Wide-Angle & Telephoto: Wide angles pull the viewer into the scene (great for epic landscapes). Telephotos compress the background, making distant mountains or cityscapes look incredibly large and close behind your subject.
The Magic of Perspective and Timing

Most amateur photos are taken from exactly five-and-a-half feet off the ground—adult eye level. We see the world from this height every single day, which makes photos taken from this angle feel ordinary.
Want to instantly upgrade a shot? Get your clothes dirty. Lay flat on the ground and shoot up to make a subject look powerful and heroic. Climb a staircase and shoot straight down to reveal geometric patterns that no one else noticed.
But perspective is only half the battle; the other half is timing. True professional storytelling means waiting for the moment between the poses. When a subject breaks character, laughs at a bad joke, or looks away thoughtfully—that is the authentic, unposed split-second that turns a photograph into a memory.
The Digital Darkroom: Editing with Restraint

Pressing the shutter is only step one. Editing is where you bake the cake. However, the biggest trap for new photographers is treating editing software like a magic wand to fix bad photos.
Professional editing is subtle. It’s about bumping up the contrast to make the subject pop, tweaking the white balance so a snowy day doesn’t look blue, and guiding the eye by slightly darkening the edges of the frame (vignetting).
If someone looks at your photo and their first thought is, “Wow, what a cool edit,” you have probably gone too far. The edit should be invisible; the subject should be the star.
Common Traps to Avoid

- Pixel Peeping: Zooming in 400% on a computer screen to see if a single eyelash is out of focus. No one views photos this way. Stop obsessing over microscopic perfection and focus on the emotion of the shot.
- Ignoring the Background: You spot a great expression, take the photo, and realize later there is a bright red stop sign growing out of your subject’s head. Always scan the background before you shoot.
- Rushing: Slow down. Check the light. Check the edges of your frame. Breathe.
Photography is a brilliant, frustrating, and incredibly rewarding lifelong pursuit. You will take thousands of terrible photos on your way to taking a few masterpieces. Embrace the bad shots—they are simply the tuition you pay to train your eye.
FAQ’S
1. What are the basic photography techniques every beginner should learn?
Start with mastering exposure, composition, focus, and lighting to build a strong photography foundation.
2. Why is lighting important in professional photography?
Good lighting enhances colors, details, and mood, making photos look more natural and professional.
3. Which camera mode is best for professional photography?
Manual mode is ideal because it gives full control over exposure, focus, and creative settings.
4. Can smartphone cameras produce professional-quality photos?
Yes, with proper lighting, composition, and editing, modern smartphones can capture impressive images.
5. How can I improve my photography skills faster?
Practice regularly, experiment with different techniques, study professional work, and learn from your results.


Leave a Reply