
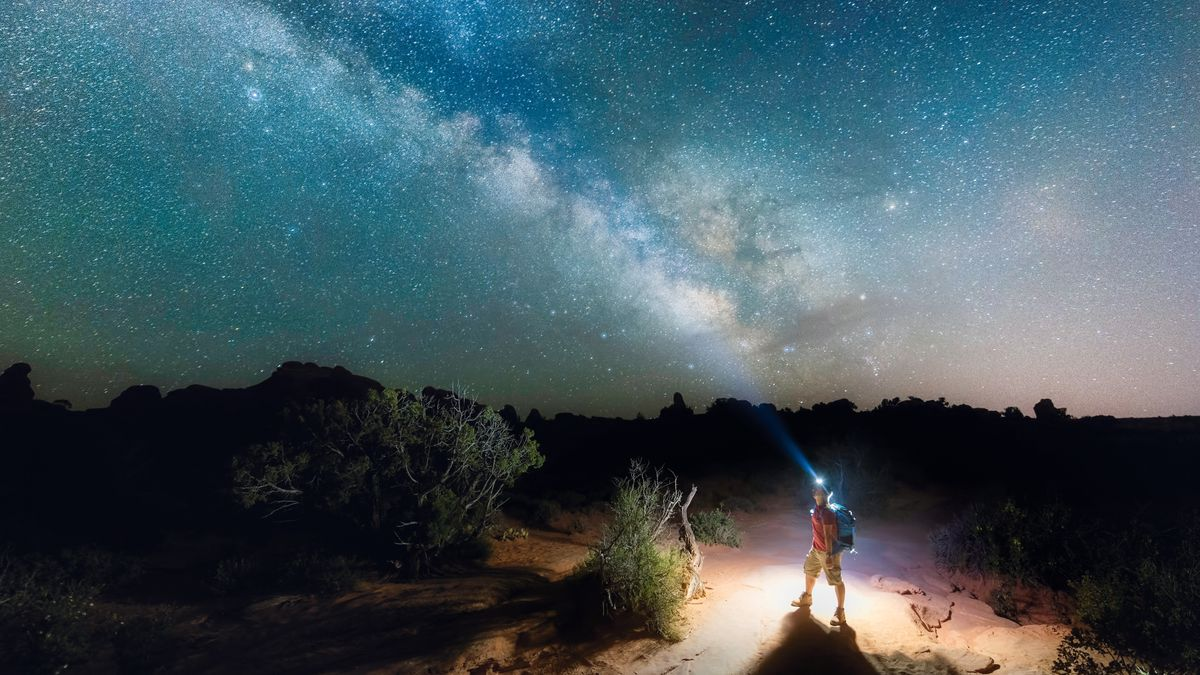
There is a distinct kind of magic that happens the moment the sun drops below the horizon. The mundane, utilitarian corners of a city suddenly take on a moody, cinematic quality. Wet asphalt reflects neon signage, quiet alleys whisper stories, and ordinary architecture Photography turns into dramatic silhouettes against the skyline.
And yet, night photography is notorious for breaking hearts.
How many times have you framed up what looked like a gorgeous, atmospheric scene, only to press the shutter and end up with a photo that is blurry, muddy, pitch-black, or so grainy it looks like it was covered in sand?
Here’s the cold, hard truth: night photography isn’t about having a $5,000 camera body. It’s about understanding how your camera sees light, learning how to stabilize your setup, and turning artificial street lighting from an annoyance into your greatest creative asset.
Whether you’re carrying a full-frame mirrorless setup, a vintage DSLR, or a modern flagship smartphone, this guide will walk you through the exact settings, mindsets, and techniques needed to capture crisp, stunning low-light shots in 2026.
Part 1: The Exposure Triangle at Night (The Human Reality Check)

When you shoot during the day, your camera has plenty of light to play with. At night, light becomes a precious currency, and you have to decide exactly how you want to pay for it using the Exposure Triangle:
                              EXPOSURE TRIANGLE (NIGHT MODE)

                                       APERTURE
                                    (Light Intake)
                                         /\
                                        /  \
                                       /    \
                                      /      \
                                     /________\
                       SHUTTER SPEED            ISO
                     (Motion Blur Risk)     (Digital Grain Risk)
- Aperture (f-stop): How wide your lens opens. Lower numbers (like f/1.8 or f/2.8) mean more light, but a narrower plane of focus.
- Shutter Speed: How long your sensor stays exposed to light. Slower speeds (like 2 seconds) gather tons of light, but require zero movement.
- ISO: Your sensor’s artificial amplification signal. Higher numbers make dark scenes bright, but add digital noise (grain).
To get the cleanest image possible, you want your ISO as low as possible and your aperture as open as comfortable. That leaves Shutter Speed as your primary slider to balance—which brings us directly to the most critical rule of low-light shooting.
Part 2: The “Low-Light Survival Matrix” (Camera Settings Cheat Sheet)

Instead of trying to memorize endless camera manuals, use this quick-reference table based on the exact low-light scenario you’re standing in front of:
| Shooting Scenario | Recommended Aperture | Shutter Speed Range | Starting ISO | Tripod Required? | Main Goal / Warning |
| City Skylines & Architecture | f/8.0 – f/11 (for maximum sharpness) | 5.0 – 15.0 seconds | ISO 100 – 400 | YES | Creates crisp “starbursts” on streetlamps. |
| Light Trails (Passing Cars) | f/8.0 – f/13 | 4.0 – 10.0 seconds | ISO 100 – 200 | YES | Turns headlights into continuous rivers of light. |
| Handheld Street Photography | f/1.8 – f/2.8 (as wide as possible) | 1/125s – 1/250s | ISO 1600 – 6400 | NO | Prevents human motion blur in dynamic streets. |
| Low-Light Night Portraits | f/1.4 – f/2.8 | 1/60s – 1/125s | ISO 800 – 3200 | OPTIONAL | Position subject near a neon sign or shop window. |
| Astrophotography (Stars & Milky Way) | f/1.8 – f/2.8 | 15.0 – 25.0 seconds | ISO 3200 – 6400 | YES | Watch out for star trails if exposure exceeds 25s! |
| Puddles & Wet Asphalt Reflections | f/2.8 – f/4.0 | 1/30s – 2.0 seconds | ISO 400 – 1600 | DEPENDS | Get down low to the ground for maximum mirror effect. |
Part 3: Step-by-Step Blueprint for Sharp Night Shots
If you want images that pop off the screen with rich colors and razor-sharp details, follow this physical shooting workflow on site:
┌───────────────────────────────────────────────────────────┐│ THE 5-STEP NIGHT SHOOTING WORKFLOW │├───────────────────────────────────────────────────────────┤│ 1. LOCK DOWN ──> Mount on tripod or rest on a wall ││ 2. SWITCH TO RAW ──> Retain dynamic range for editing ││ 3. MANUAL FOCUS ──> Use focus peaking / screen zoom ││ 4. TIMER SHUTTER ──> Use 2-second delay to stop hand-shake││ 5. CHECK HIGHLIGHTS──> Verify streetlamps aren't blown out│└───────────────────────────────────────────────────────────┘
1. The 2-Second Timer Hack (Crucial!)
When your camera is mounted on a tripod for a 5-second exposure, the simple physical act of pressing down on the shutter button with your finger causes micro-vibrations that ruin the sharpness of your shot.
- The Fix: Enable your camera’s 2-second self-timer. You press the button, take your hand away completely, the camera settles, and then the shutter fires smoothly.
2. Shoot Exclusively in RAW Format

When you shoot JPEGs at night, your camera burns the contrast and white balance into the file permanently. Because night scenes feature extreme dynamic range—pitch-black shadows combined with glowing, ultra-bright neon bulbs—you need the extra data retention that only RAW files provide. You can easily lift shadow details in editing later without destroying the image.
3. Master Manual Focus at Night
Auto-focus systems work by finding contrast. In pitch darkness, your camera lens will often “hunt” back and forth endlessly, refusing to fire.
- Flip your lens switch to Manual Focus (MF).
- Turn on Focus Peaking or zoom in 10x on your camera’s LCD screen.
- Focus manually on a bright, distant streetlamp or glowing sign until it becomes pin-point sharp.
Part 4: Composition Tricks: Turn Bad Lighting into Art

Don’t wait for perfect light—learn to exploit the artificial light sources already sitting on the street:
   WRONG: Blasting On-Camera Flash        RIGHT: Using Environmental Lighting
┌──────────────────────────────┐       ┌──────────────────────────────┐
│  (Flat, harsh shadows,       │       │  Subject lit from the side   │
│   red-eye, washed out)       │       │  by a warm shop-window glow  │
└──────────────────────────────┘       └──────────────────────────────┘
- Embrace the “Blue Hour”: The absolute best time for night photography isn’t 1:00 AM—it’s the 30-minute window right after sunset known as the Blue Hour. The sky retains a deep cobalt-blue tone, providing color contrast against warm orange streetlights.
- Look Down for Reflections: Rain is a night photographer’s best friend. Rain-soaked streets transform ugly gray concrete into glowing watercolor mirrors that double the color in your frame.
- Use Light Sources to Frame Subjects: Instead of pointing your camera directly at a bright lamp, place your subject between the light source and your lens to create dramatic silhouettes.
Part 5: Smartphone Night Photography (2026 Masterclass)
You don’t need a heavy camera bag to get great shots. Modern flagship smartphones use computational photography to combine up to 15 different exposures in a fraction of a second.
┌───────────────────────────────────────────────────────────┐│ SMARTPHONE NIGHT MODE BEST PRACTICES │├───────────────────────────────────────────────────────────┤│ DO: Clean your camera lens with a microfiber cloth FIRST! ││ DO: Lean your elbows against your ribs for stability. ││ DON'T: Use digital pinch-to-zoom (it degrades quality). ││ DON'T: Move the phone until the exposure wheel finishes. │└───────────────────────────────────────────────────────────┘
- Wipe Your Lens First: This sounds silly, but oil from your fingers creates those ugly, streaky “light halos” across streetlamps in phone photos. Wipe it clean on your shirt before shooting!
- Lock Exposure & Lower the Slider: Tap on a bright light source on your phone screen, then slide the little sun icon downward slightly. Smartphones intentionally try to make dark scenes look bright like daytime. Manually lowering exposure keeps the night feeling moody and preserves detail in neon lights.
Frequently Asked Questions
1. What is the single best camera setting for night photography?
There isn’t a single universal setting, but for crisp landscape or city shots, a solid baseline is Manual Mode, f/8.0, 4-second shutter speed, ISO 100, with the camera mounted securely on a tripod.
2. Should I keep Image Stabilization (IBIS/OIS) ON when using a tripod?
No. Turn Image Stabilization off when your camera is locked on a sturdy tripod. If the sensor senses zero motion, the stabilization motor can sometimes create its own subtle internal feedback vibration, causing minor blur.
3. How do I fix orange or weird yellow color casts in my night photos?
Set your camera’s White Balance manually to K (Kelvin) around 3500K–4000K, or choose the “Tungsten/Incandescent” preset. This neutralizes sickly yellow streetlamps and gives your image a cooler, cleaner, more modern look.
4. How do I prevent grainy noise when shooting handheld at night?
To avoid high ISO noise when holding your camera by hand, open your lens aperture to its widest setting (e.g., f/1.8) and look for ambient light sources—like shop windows, billboard glow, or streetlamps—to illuminate your main subject rather than shooting in total darkness.


Leave a Reply