
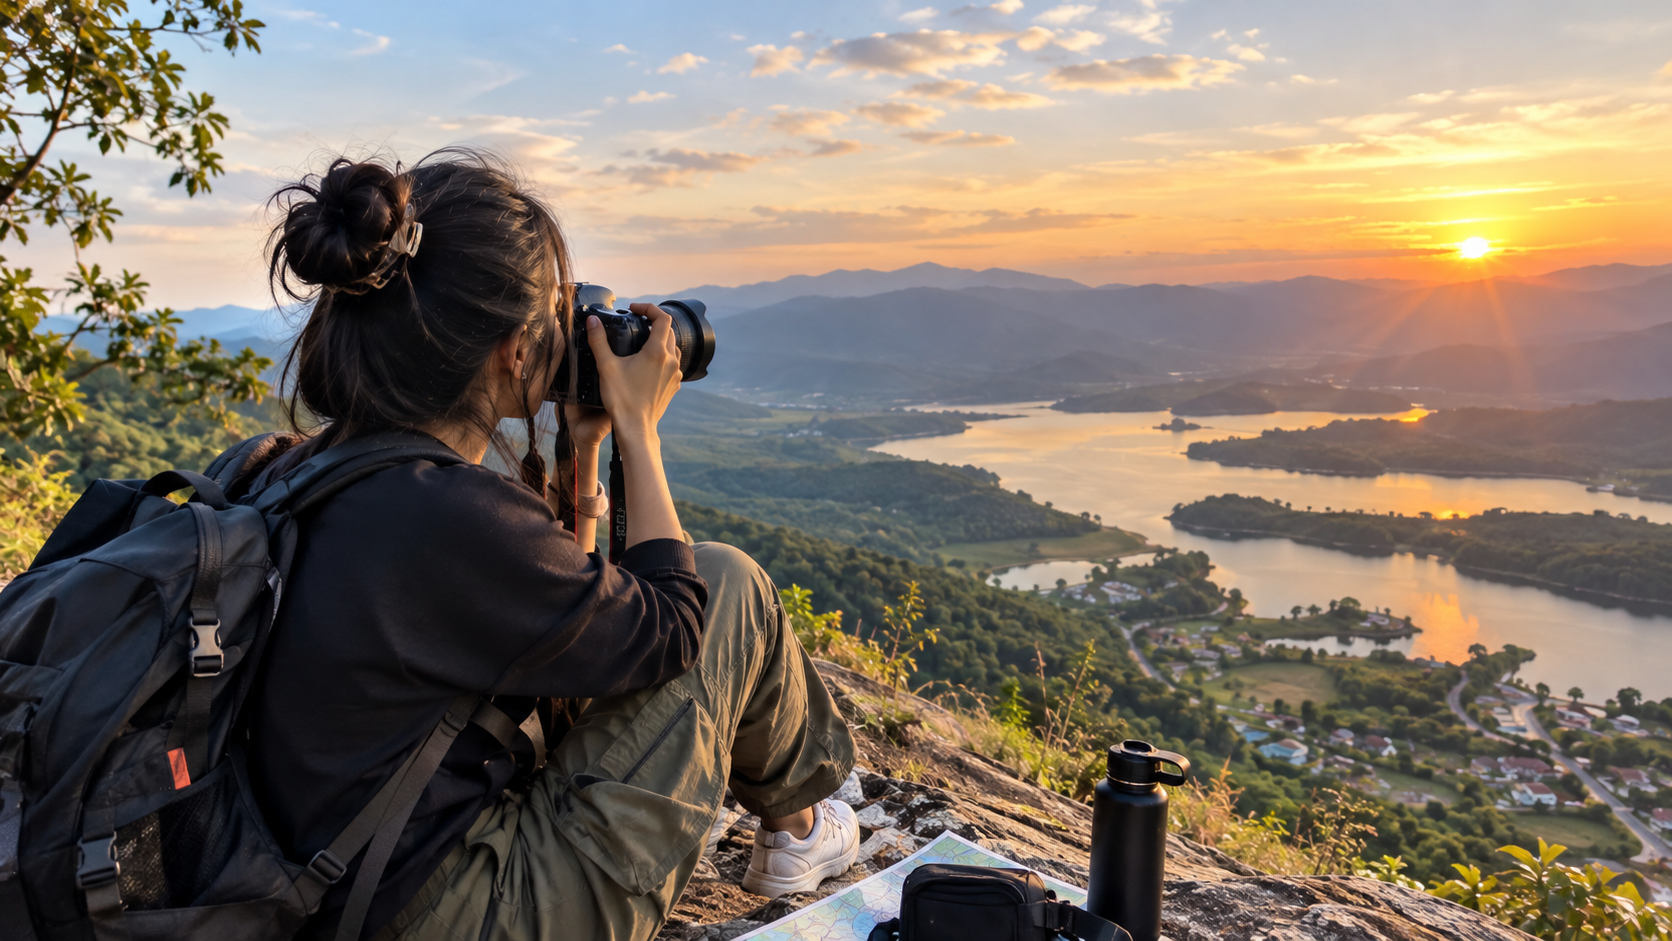
Whenever I think about travel photography, I think about those little moments that make a trip memorable. It could be sunlight falling on an old street, a colourful market full of people, a mountain covered in mist, or a cup of chai beside a beautiful view.
Sometimes, these ordinary moments make the best Photography.
When I first started traveling with a camera, I assumed that catching great images required expensive gear, fancy prime lenses, and perfect weather. I cannot tell you how many times I stood in front of a breathtaking mountain range or an ancient alleyway, took twenty pictures on my phone, and ended up deleting every single one because they looked flat, dark, or lifeless.
The good news is that you do not need an expensive setup to improve your travel photographs. A smartphone is more than enough to learn the fundamentals. Once I stopped focusing on gear and started paying attention to natural light, framing, and simple angles, my Photography transformed completely.
If I were helping a beginner get started today, I would suggest focusing on these practical habits. They are easy to practice whether you are exploring a quiet hill station, visiting a busy heritage monument, or spending a weekend exploring a nearby market.
1. Learn to Notice the Moment Before Taking the Picture

When I was starting out, my biggest mistake was rushing. I would walk past a scenic view, pull out my phone, tap the screen, and walk away—only to realize later that I had captured a messy frame full of electrical wires, random trash cans, or half-cut figures walking out of the frame.
I had to train myself to slow down.
Before pressing the shutter button, take three seconds to look around the entire frame, especially the corners. Ask yourself: Is there an ugly sign behind my subject? Would this look cleaner if I stepped two feet to the left? Am I cutting off the top of that ancient doorway?
Sometimes a scene does not need extra editing; it simply needs a slightly better perspective.
For example, when I am standing in a chaotic market street, I often pick a nice background first—like a vintage doorway or a brightly painted wall—and wait ten seconds for someone carrying flowers or wearing a colorful scarf to walk through. When I am at a quiet lake, I lower my phone close to the water level to capture the reflection of the surrounding peaks.
2. Use Natural Light to Make Your Pictures Look Better For Photography


Light is the single most important element in photography. The exact same building can look harsh, flat, and washed out at 1:00 PM, yet look golden, warm, and magical at 6:00 PM.
When I plan my travel Photography days, I structure my sightseeing around the sun. Early morning right after sunrise and late afternoon right before sunset offer the softest light. The low angle of the sun casts gentle shadows that give depth and character to landscapes, historic architecture, and street portraits.
What if you have to take Photography at midday?
You do not need to put your Photography camera away just because the sun is high and harsh.
When I find myself exploring midday under direct sunlight, I look for open shade—like the shadow cast by a tall archway, a covered porch, or a narrow alley. Shaded spots act as a natural softbox, giving you smooth, even lighting for portraits without harsh shadows under the eyes.
If you are shooting on a smartphone under bright sun, always tap on the brightest part of your screen and slide the little sun icon down slightly to lower the exposure. This prevents your skies from looking completely blown-out white.
| Time or Lighting Condition | How I Use It | What to Watch Out For |
| Early Morning | Peaceful street scenes, soft landscape highlights, calm water reflections | Light changes quickly; wake up early to set up |
| Late Afternoon (Golden Hour) | Warm architectural shots, glowing portraits, long directional shadows | Lens flare when shooting directly toward the sun |
| Midday Sunlight | Architectural patterns, high-contrast black & white street photos | Harsh eye shadows; look for covered alleys and shade |
| Cloudy / Overcast Sky | Rich colors in markets, macro details, smooth skin tones in portraits | Flat grey skies; keep less sky in your frame |
| Evening / Dusk | City streetlights, twilight skies, water reflections | Camera shake; keep your elbows rested against your body |
3. Follow the Rule of Thirds, but Don’t Follow It Blindly
The rule of thirds was the first composition trick I ever learned, and it immediately stopped my photos from looking like casual snapshots.
Imagine your frame divided into nine equal rectangles by two horizontal lines and two vertical lines. On almost every smartphone camera Photography, you can turn this 3×3 grid on in the camera settings menu.
Instead of placing your subject dead center every single time, align key elements along those grid lines or at the four intersection points:
- When shooting an ocean landscape, place the horizon line along the bottom third line if the sky looks dramatic, or along the top third line if the foreground rocks are more interesting.
- When photographing a local vendor or traveler, place their eyes along the top grid line and position them slightly off-center to give the photo a sense of space.
When to break the rule:
Symmetry is equally powerful. When I stand inside a grand corridor, in front of a symmetrical doorway, or beside a crystal-clear reflection in a pond, I place the subject directly in the middle to emphasize balance. Use the grid as a helpful guide, not a strict law.
4. Tell a Story Instead of Photographing Only Famous Places

It is easy to arrive at a famous monument, take the exact same postcard picture that millions of tourists have taken before, and move on. While those memory shots are nice to have, they rarely capture what it actually felt like to be there.
To build a meaningful travel album, I focus on capturing a complete story using three distinct shot perspectives:
- The Wide Shot (Context): This establishes the location—a wide landscape of a mountain village, an overarching view of a crowded railway station, or a full street scene.
- The Medium Shot (Subject): This zooms in on the action—a street vendor stirring a giant pot of tea, an artisan carving wood, or a colorful storefront.
- The Close-up Shot (Detail): This captures intimate textures—the steam rising from a clay chai cup, carved brass door handles, or fresh spices lined up in wooden sacks.
When you look back at a travel gallery that combines wide views with tiny human details, you are instantly transported back to that specific place and atmosphere.
5. Make Your Smartphone Work for You
You do not need a ₹1,00,000 camera body to take stunning travel images. Modern smartphone sensors are incredible if you know how to bypass their default habits.
Here are the basic mobile habits I follow on every trip:
- Wipe Your Lens First: This sounds basic, but pocket lint and finger oils build up on phone lenses constantly. Wiping your lens on a soft cotton shirt before taking a picture instantly eliminates hazy, blurry light streaks.
- Lock Focus and Exposure: Tap and hold your main subject on screen until you see “AE/AF Lock.” This stops your phone from constantly changing brightness every time a person walks past.
- Avoid Digital Pinch-to-Zoom: Unless your phone has a physical telephoto lens (2x, 3x, or 5x optical zoom), pinching the screen degrades your image into a pixelated mess. Whenever it is safe to do so, use your feet to walk closer to the subject instead.
6. Carry Less Equipment Than You Think You Need
During my early trips, I packed a massive backpack with three heavy lenses, cleaning kits, filters, and a clunky metal tripod. By 2:00 PM every day, my shoulders ached, and I was too exhausted to enjoy walking around. I missed dozens of spontaneous photos simply because my camera was zipped away in a heavy bag.
Now, I travel as light as humanly possible. A lightweight setup keeps you nimble, energized, and ready to react when a candid moment happens in front of you.
| Gear Item | Is It Essential for Beginners? | My Practical Experience |
| Smartphone / Compact Camera | Yes (Essential) | Your best tool because it stays in your pocket ready to shoot instantly. |
| Compact Power Bank | Yes (Essential) | Navigation and photography drain phone batteries rapidly on full travel days. |
| Microfiber Lens Cloth | Yes (Essential) | Takes up zero space and keeps your lens free of fingerprints and dust. |
| Flexible Mini Tripod | Optional | Great for self-portraits, night exposures, or steady group shots. |
| Multiple Telephoto Lenses | Unnecessary for Beginners | Heavy to carry all day; master one flexible focal length first. |
7. Photograph People Respectfully

Including local people in your Photography images brings authentic life, emotion, and culture to a travel photo. However, building trust matters far more than capturing a quick picture.
Whenever I want to capture a portrait of an artisan, shopkeeper, or street vendor, I never shoot secretly from afar with a long zoom. I walk up, smile, say hello, and engage with them first. Buying a cup of tea, a fruit, or a small handicraft is the best way to break the ice naturally.
After a brief chat, I simply point to my camera with a polite smile. Most people are happy to let you take their picture if you show genuine interest in them. If someone shakes their head or looks hesitant, smile, thank them, and walk away. Never force a photograph if it makes someone uncomfortable.
8. Use Simple Photography Editing Instead of Overdoing Filters
Editing should enhance the mood that was already present in your original scene, not transform it into something fake.
When I first discovered editing apps, I used to max out saturation and contrast sliders until the grass looked fluorescent green and the sky turned electric blue. Looking back at those photos now, they look cheap and unnatural.
Stick to basic, subtle adjustments in free editing apps like Lightroom Mobile or Snapseed:
- Crop & Straighten: Fix crooked horizon lines on ocean shots or crop out distracting objects on the edge of your frame.
- Exposure & Shadows: Lift dark shadows slightly to reveal detail in clothing or buildings without making the photo look flat.
- Warmth / White Balance: Adjust the temperature slider slightly toward yellow to restore that warm, golden feel of sunset shots.
9. Take Better Night Photography by Keeping Your Camera Steady

Night markets, lit monuments, and street signs make fantastic travel subjects, but low-light photography is where most beginner photos turn out blurry or grainy.
When there is less light available, your phone camera keeps its shutter open longer to capture details. Any small movement from your hands will blur the entire image.
Whenever I take photos at night without a tripod, I tuck my elbows firmly against my ribs, hold the phone with both hands, breathe out slowly, and press the shutter button gently. If there is a flat surface nearby—like a wall, a bridge railing, or a sturdy table—rest your arms on it to anchor your shot. Avoid using built-in phone flash as it creates harsh reflections and ruins the atmosphere of the night.
10. Don’t Spend the Entire Photography Trip Behind the Camera
This is the most important lesson I have learned after years of traveling.
It is easy to become so obsessed with documenting every corner, checking screen brightness, and adjusting compositions that you forget to sit back and experience the destination.
Now, I give myself clear windows: I will spend an hour aggressively exploring and photographing a market or viewpoint, and then I intentionally put my phone inside my bag. I sit down at a street stall, order a hot meal or a drink, listen to the local sounds, and just take in the view with my own eyes.
Your travel memories should live in your mind, not just on a memory card.
Common Travel Photography Mistakes Beginners Can Avoid

- Shooting Everything from Eye Level: Standing straight up and pointing your phone straight ahead makes your photos look average. Try crouching down low near the ground or finding a high step or vantage point to give your subject a fresh angle.
- Ignoring the Background: Always check what is behind your subject. A pole sticking out behind someone’s head can ruin an otherwise great portrait.
- Cropping Off Feet or Hands: When framing people or buildings, give them room to breathe. Avoid cutting off feet, fingers, or the tops of architectural domes right at the edge of the frame.
- Relying on Heavy Filters: Avoid applying harsh preset filters that wash out real skin tones and natural colors.
Ready to Capture Your Next Adventure?
Turn ordinary vacation moments into extraordinary memories. Discover simple photography techniques and make every shot count!
Discover Photography Tips →Explore, experiment, and create your own travel photography style.
A Simple Travel Photography Practice Plan for Beginners
If you want to build your photographic eye before your next big trip, you do not need to wait for a plane ticket. You can practice these exact habits on a simple weekend walk through your local market or park:
- Day 1 (Composition Practice): Go on a 30-minute walk with your camera grid turned on. Focus solely on placing subjects along the third lines and finding natural leading lines like footpaths or fences.
- Day 2 (Lighting Focus): Head out 40 minutes before sunset. Take photos of the same building or street corner as the sun drops to observe how shadows and colors change every ten minutes.
- Day 3 (Storytelling): Pick one small location—like a local coffee shop or park bench—and take one wide contextual shot, one medium action shot, and three close-up detail shots.
Frequently Asked Questions (FAQs)
1. Do I need an expensive camera for travel photography?
No, you can take beautiful travel photos with a smartphone. I would recommend learning about natural light, composition, and camera angles before investing in expensive equipment.
2. What is the best time to take travel photographs?
Early morning and late afternoon are usually ideal because the light is softer and warmer. These times work particularly well for landscapes, street photography, and portraits.
3. How can beginners take better travel photos with a smartphone?
Start by cleaning your camera lens, turning on the grid, tapping to focus, and avoiding excessive digital zoom. Try different angles and pay attention to the background before taking each picture.
4. Which editing apps are best for travel photography beginners?
Lightroom Mobile and Snapseed are useful options for beginners. Both can help you crop images, adjust brightness, improve shadows, and enhance colours without relying on heavy filters.
5. How can I make my travel photographs look more professional?
Focus on good lighting, clean composition, interesting details, and storytelling. Instead of photographing only famous landmarks, capture local markets, architecture, food, and everyday moments that show what a destination feels like.



Leave a Reply