
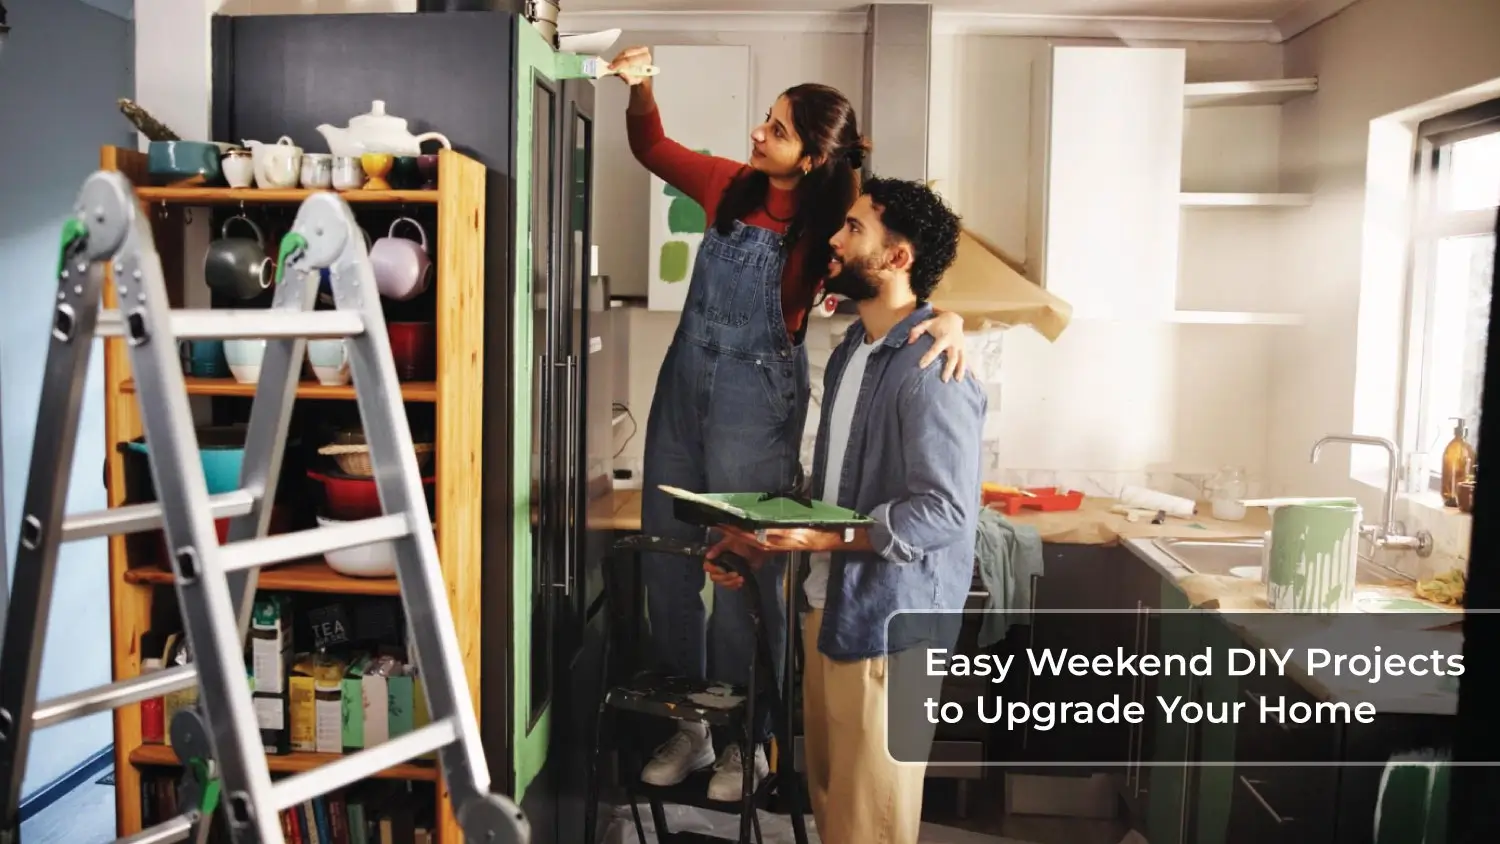
Let’s be honest: most TV home renovation shows feel completely detached from reality. They show a couple swinging a sledgehammer through Guide a load-bearing wall, gasping at an open-concept kitchen, and magically transforming an entire house over a single long weekend for a couple hundred bucks.
Back in the real world? Tackling a home project usually means getting lost in the hardware store aisle, realizing you bought the wrong size anchor, and leaving a semi-sanded table in your hallway for three weeks while you build up the emotional energy to finish it.
You don’t need a massive budget, a contractor’s license, or a shed full of high-end power tools to make your living space feel good. Making a home feel comfortable, functional, and uniquely yours isn’t about gutting rooms. It’s about stopping the small, annoying daily friction points—the dim lighting, the clutter pile by the front door, or that bleak, empty wall you’ve been staring at for six months.
Here is a practical, down-to-earth roadmap for DIY home projects that actually fit into a normal human weekend.
1. Real-World DIY: What’s Worth Your Time (And What Isn’t)
Not all DIY projects are created equal. Some take ten minutes and completely change the mood of a room; others consume your entire weekend, leave your house covered in drywall dust, and cost twice as much as just paying someone who knows what they’re doing.
| Weekend Project | Sweat Equity Level | Real-World Impact | The “Don’t Ruin This” Catch |
|---|---|---|---|
| Accent Wall Painting | Low | High visual refresh | Don’t skimp on painter’s tape or prep work |
| Cabinet Hardware Refresh | Low | High aesthetic update | Measure hole-to-hole center distance before buying |
| Floating Shelves | Medium | Extra storage & display space | Use a stud finder; don’t rely purely on drywall anchors |
| Furniture Refinishing | Medium–High | Saves old, solid pieces | Sanding takes twice as long as you think it will |
| Gallery Wall Setup | Low | Personalizes blank walls | Map it on the floor with paper templates first |
| Entryway Organization | Low–Medium | Cuts daily leaving-the-house chaos | Keep it functional, not just pretty |
| Lighting Upgrades | Low–Medium | Changes total room atmosphere | Turn off the main breaker before touching any wires |
2. Low-Effort Visual Upgrades That Punch Above Their Weight

If you want immediate visual gratification without turning your home into an active construction site, start with these simple visual pivots.
The Power of an Accent Wall
Repainting an entire living room or open-concept space is exhausting. Moving heavy furniture, taping off every ceiling edge, and applying two coats everywhere can make you regret your life choices by Sunday afternoon. Instead, pick one feature wall.
A single wall behind your bed, behind the sofa, or at the end of a long hallway painted in a deep olive green, warm terracotta, or muted navy gives the room depth without taking over your whole weekend.
Rule of Thumb: Test paint swatches directly on the wall and look at them at 8 AM, 2 PM, and 8 PM. Natural light changes color drastically throughout the day. What looks like cozy charcoal under store lamps can look like pitch-black in a dim room.
| Time of Day | Light Quality | How Color Looks on the Wall | Action Plan |
|---|---|---|---|
| Morning | Soft & Cool | Colors look paler, cooler, and slightly bluer | Paint swatches directly on the wall |
| Afternoon | Warm & Bright | Colors pop out and feel much warmer | Check swatches in direct sunlight |
| Evening | Yellow / Artificial | Colors look darker, warmer, and deeper | Check swatches with your regular lamps on |
The $30 Cabinet Handle Transformation
If your kitchen or bathroom cabinets look stuck decades in the past, don’t rush out to get quotes for a multi-thousand-dollar cabinet replacement. Swapping out basic round knobs or dated builder-grade handles for modern matte black, brushed brass, or sleek silver hardware can make old cabinets look intentionally updated in less than an hour.
All you need is a single screwdriver and a bit of patience. Just make sure to measure the distance between the existing screw holes (center-to-center) so you don’t end up needing to drill new ones and patch the old holes.
3. Storage & Organization: Fixing the Daily “Clutter Hotspots”

We often think we need a bigger home when what we actually need is better access to the stuff we already use. Organization isn’t about buying matching clear plastic bins just to look pretty on social media; it’s about making your Monday morning routine feel less frantic.
| Problem Area | Why It Gets Chaotic | The Simple DIY Fix |
|---|---|---|
| The Entryway Dump Zone | Keys, mail, and shoes dropped instantly at the door | Add a wall hook rack, a key tray, and a narrow shoe bench |
| The Junk Drawer | Everything thrown in loose without boundaries | Drop in inexpensive adjustable bamboo or plastic dividers |
| Under-Sink Cabinets | Tall empty space wasted; bottles pile up in front | Install a two-tier sliding rack or pull-out wire basket |
| Overcrowded Closets | Vertical space above/below clothes hanging rod wasted | Add a second lower hanging rod or over-the-door shoe organizer |
The Floating Shelf Rule: Respect Weight Limits

Floating shelves look clean, modern, and light. But the quickest way to ruin your afternoon is watching a floating shelf rip out a chunk of your drywall because you loaded it up with heavy hardcovers using flimsy plastic wall anchors.
- For Light Stuff (small plants, photos, empty frames): Heavy-duty drywall anchors (like self-drilling screw anchors) work fine.
- For Heavy Stuff (cookbooks, stacks of dishes, heavy pottery): You must screw the mounting bracket directly into the wooden wall studs. Use an inexpensive stud finder to locate them before drilling.
4. Lighting: Stop Relying on “The Big Light”
If your room feels clinical, sterile, or uncomfortable in the evenings, the problem usually isn’t your furniture—it’s your lighting. Relying solely on a harsh, single overhead ceiling light (often called “The Big Light”) washes out textures, creates harsh shadows, and makes relaxing nearly impossible.
| Layer Level | Purpose | Common Fixtures |
|---|---|---|
| 1. Overhead (Ambient) | General illumination across the room | Ceiling fixtures, flush mounts, recessed cans |
| 2. Eye Level (Task) | Direct light for reading, working, or cooking | Desk lamps, reading lights, under-cabinet kitchen LEDs |
| 3. Low Level (Accent) | Creates cozy atmosphere and warm depth | Floor lamps, table lamps, soft LED strips behind TV/shelves |
Quick Lighting Fixes That Require Zero Wiring

- Switch to Warm Bulbs: Check your light bulb boxes for the color temperature rating. Look for 2700K to 3000K (Warm White) for bedrooms and living rooms. Avoid 5000K (Daylight) unless you want your living room to feel like a hospital waiting area.
- Plug-In Wall Sconces: Want stylish reading lights on either side of your bed without paying an electrician to run wires inside the wall? Buy plug-in sconces, mount them to the wall with two screws, and run the cord down gracefully (or hide it inside a paintable cord cover).
- Under-Cabinet LED Strips: Peel-and-stick LED light strips under your kitchen cabinets completely transform nighttime kitchen runs and make meal prep much easier.
5. Giving Old Furniture a Second Life
Before throwing a solid wood table, dresser, or chair onto the curb, take a second to evaluate its structure. Older furniture was often built with solid wood and actual joinery, whereas cheap modern flat-pack furniture is often made of compressed particle board that warps the second water touches it.
| Phase | Step Name | What You Actually Do |
|---|---|---|
| Step 1 | Clean | Wipe away all built-up dust, grease, and household oils |
| Step 2 | Light Sand | Briefly scuff the old clear glaze so new paint can stick |
| Step 3 | Prime | Apply stain-blocking primer to prevent wood oils from bleeding through |
| Step 4 | Paint | Apply 2 thin, smooth coats of acrylic, latex, or chalk paint |
| Step 5 | Seal | Finish with a clear protective topcoat to prevent scratches |
The “Scuff Sanding” Shortcut
If you’re painting an old wooden piece, you usually don’t need to sand it down to bare wood unless the old varnish is peeling off in chunks. All you need is a quick “scuff sand” using medium-grit sandpaper (around 120–180 grit) for 5 to 10 minutes. The goal isn’t to remove the old finish entirely—it’s just to scratch up the shiny surface so your new coat of primer and paint has something rough to grip onto.
6. Real-World DIY Traps to Avoid

Save yourself time, money, and frustration by keeping these common mistakes in mind:
- Starting Three Projects at Once: Nothing kills your home’s comfort faster than having a half-painted wall in the living room, disassembled kitchen drawers, and a half-built shelf in the hallway all happening on the same Sunday. Finish one small project completely before pulling out tools for the next one.
- Skipping the Measuring Step: “Eyeballing it” is how gallery walls end up crooked and curtains end up dragging on the floor or hovering awkward inches above the ground. Measure twice, mark with a pencil, and use a level.
- Buying the Cheapest Tool Available: A dirt-cheap screwdriver set that bends under slight pressure or cheap painter’s tape that leaks paint underneath will turn a 20-minute job into a two-hour headache. Invest in decent basic hand tools.
- Ignoring Safety: Wear protective eye goggles when drilling overhead, put on a dust mask when sanding paint or wood, and always turn off the main breaker switch before working on any electrical outlets or switches.
7. Your Realistic 2-Day Weekend Project Plan
Here is a balanced timeline for how to execute a simple weekend refresh (like painting an accent wall or installing floating shelves) without exhausting yourself:
Saturday: Prep & Foundation
- Morning (9 AM – 11 AM): Clear the work area, clean the surfaces, pull out your tools, and make your hardware store run for missing supplies.
- Afternoon (1 PM – 4 PM): Do the heavy prep work—patch nail holes, sand rough spots, tape off edges, or mark stud locations on the wall.
- Evening: Apply your first coat of paint or primer, then clean your brushes and step away. Let everything dry completely overnight.
Sunday: Completion & Setup
- Morning (10 AM – 12 PM): Apply your second coat of paint, or mount your shelf brackets into the wall studs.
- Afternoon (2 PM – 4 PM): Carefully peel off painter’s tape while the paint is slightly tacky, attach hardware, clean up dust, and put your furniture back in place.
- Evening: Sit back, relax, and enjoy your updated space.
Frequently Asked Questions
Q1: What are the best DIY projects for complete beginners?
Start with projects that carry low risk and high visual payoff: paint a single accent wall, swap out kitchen or bathroom cabinet hardware, create a gallery wall using paper templates, or add plug-in lighting. These build your confidence without requiring expensive power tools.
Q2: How do I know if I can do a project myself or if I should hire a professional?
If a project involves simple cosmetic updates, minor drywall repairs, surface painting, or basic organization, it’s great for DIY. If it involves structural wall removal, major plumbing rerouting, high-voltage electrical work, or roof repair, hire a licensed professional to avoid safety hazards and costly code violations.
Q3: Is DIY home improvement really cheaper than buying new furniture or hiring help?
It usually is for cosmetic work, painting, and refinishing solid old furniture. However, factor in the cost of tools you don’t already own. If a project requires buying a specialized tool you’ll only use once, renting that tool or buying a pre-made item might be the smarter financial choice.
Q4: How can I fix crooked frames on a gallery wall without drilling dozens of extra holes?
Cut out paper templates corresponding to the exact sizes of your picture frames. Tape the paper templates to the wall using painter’s tape and arrange them until you like the layout. Mark the nail spots directly onto the paper, drive the nails through the paper, and then peel the paper away before hanging your frames.




Leave a Reply