
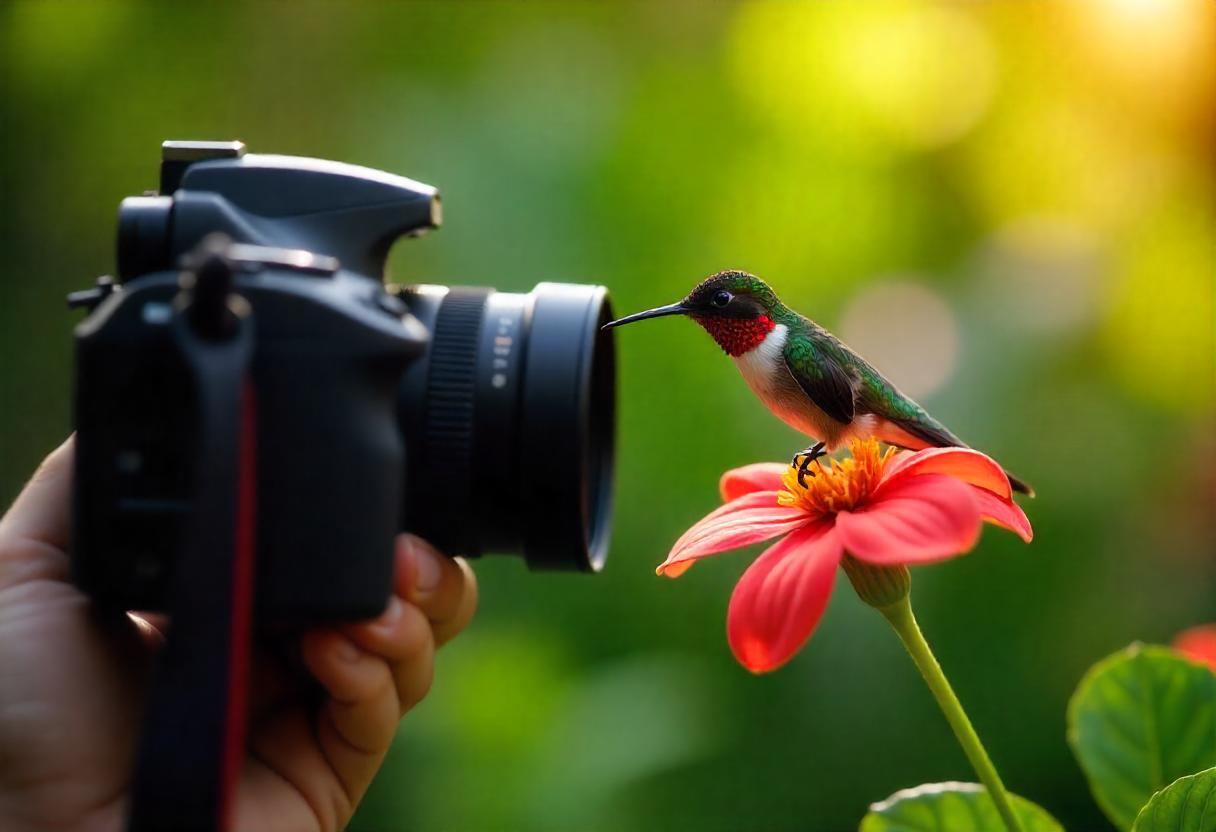
Capturing breathtaking, professional-quality photos isn’t about owning the most Photography expensive camera gear or relying on heavy digital filters. Whether you use a high-end DSLR or a modern smartphone, the real secret lies in mastering core visual fundamentals—like lighting, composition, perspective, and field depth.
By learning how to control where the viewer’s eye goes, you can instantly turn flat, ordinary snapshots into eye-catching visual stories. This practical guide breaks down four powerful photography techniques that will elevate your images to a professional standard.
Have you ever looked at a photo online and wondered, “How did they make it look so good?” Maybe you assumed they had an expensive camera, a studio, or some special talent you don’t have. Here’s a secret: most great photos come from a handful of simple techniques that anyone can learn.
You don’t need to spend a lot of money. A phone or a basic camera is enough to get started. In this post, we’ll go through easy, practical photography techniques in plain language, so your next photo looks sharper, cleaner, and far more professional.
Learn to See Before You Click

Before you worry about settings or gear, train your eyes. Professional photographers aren’t just pressing a button, they’re noticing things. Photography They see how light falls on a face, what’s messy in the background, and which angle makes a boring object look interesting. The more you observe,Next time you’re out, spend a minute looking at your subject from different sides. Walk around it, crouch down, or step back. You’ll often find that the best shot isn’t the first one you imagined.
- Look at the light, the background, and the mood before shooting
- Take the same photo from three different angles
Master Light, the Most Important Ingredient
Light can make an ordinary scene look magical Photography, and bad light can ruin an expensive camera’s work. If you only improve one thing, make it your understanding of light. It’s the single biggest difference between amateur and professional-looking photos.
Use Natural Light Whenever You Can
Soft, natural light from a window is flattering for portraits and products.Photography Stand your subject facing the window, and you’ll see even, gentle light .
- Place subjects near a window, with the light falling on their face
- Avoid using the harsh built-in flash in dim rooms

Chase the Golden Hour

The hour after sunrise and the hour before sunset gives warm, soft light with long shadows. Colours look richer, skin looks smoother, .
- Plan outdoor Photography shoots early in the morning or late in the afternoon
- Avoid midday sun, which creates sharp shadows under the eyes
Know When to Use Shade
On a bright day, open shade, like under a tree or beside a building, gives soft and even light.
- Move your subject a few steps into shade for softer skin tones
- Check that colours don’t turn Photography too green or blue under trees

Compose Your Shot Like a Pro

Composition is simply how you arrange things in the frame, and it’s what makes a photo feel balanced and pleasing. You don’t need complicated rules.
Try the Rule of Thirds
Imagine your frame divided into a grid of nine equal boxes, two lines going across and two going down. Place your subject along those lines, or where they cross, instead of right in the middle..
Use Leading Lines
Roads, fences, bridges, and railings can guide the viewer’s eye towards your subject. They add depth and make a picture feel more interesting than a flat, straight shot.
Frame Within the Frame
Shoot through a doorway, window, or tree branches to create a natural border. It adds layers and draws attention to what’s inside.
Keep Things Sharp and Simple
Nothing ruins a good picture faster than blur or a messy background. A clean, sharp image looks professional almost immediately. Luckily, this is one of the easiest things to fix with a few small habits.
Hold your camera or phone steady with both hands, and keep your elbows close to your body. Tap on your subject to set focus, and wait a second before clicking. For low light, rest your phone on a table or use a small tripod, since even tiny shakes can blur a photo.
- Clean your phone lens with a soft cloth before shooting, since fingerprints cause a hazy look
- Simplify the background by moving closer or changing your angle
- Take several shots, then pick the sharpest one
Important: Avoid digital zoom on phones. It reduces quality. Walk closer to your subject instead, or crop later if needed.
Understand the Basics of Your Camera Settings
If you use a DSLR or mirrorless camera, three settings control how bright and sharp your photo looks. You don’t have to memorise everything at once. Just understand what each one does, and practise changing them one at a time.
| Setting | What It Controls | Simple Tip |
|---|---|---|
| Aperture | How much light enters and how blurry the background is | Use a low number for a soft, blurred background |
| Shutter speed | How long the sensor sees the scene | Use a fast speed for moving subjects |
| ISO | How sensitive the camera is to light | Keep it as low as possible to avoid grainy photos |
| White balance | How warm or cool the colours look | Set it to match your light source |
| Focus mode | How the camera locks on your subject | Use continuous focus for moving subjects |
Techniques for Different Types of Photos


Different subjects need slightly different thinking. A portrait, a landscape, and a plate of food each have their own tricks. Here’s a quick walk through some of the most common ones.
Portraits
Focus on the eyes, since they carry the emotion in a picture. Ask your subject to relax, talk to them, and take photos while they laugh or look away. Candid moments often look better than stiff poses.
- Keep the camera at eye level or slightly above
- Blur the background by moving your subject away from it
Landscapes
Keep the horizon straight and include something in the foreground, like a rock or flowers, to give a sense of depth. Early morning and evening bring the most beautiful colours.
- Use a small aperture number for sharpness across the scene
- Place the horizon on the top or bottom third, not the middle
Food and Products
Natural light from the side makes food look fresh and appetising. Clean the plate, add a simple prop like a napkin, and shoot from above or at a low angle depending on the dish.
- Avoid yellow indoor bulbs, which change the food’s colour
- Wipe off crumbs, drops, and fingerprints before shooting
- Edit With a Light Hand
Editing is where good photos become great, but only if you keep it natural. A few small adjustments can lift your photo. Over-editing, on the other hand, makes pictures look fake and heavy, and professionals avoid it.
Start by straightening the horizon and cropping out distractions. Then gently adjust brightness, contrast, and warmth. Slightly increase sharpness, and stop before the colours start looking unreal. Free apps like Snapseed or Lightroom Mobile are more than enough to begin with.
- Make small changes, then compare with the original
- Keep skin tones natural instead of turning them orange or grey
- Use the same editing style across your photos for a consistent look
Common Mistakes That Make Photos Look Amateur
Almost every photographer has made these mistakes, so don’t feel bad if they sound familiar. Spotting them early helps you improve much faster than just taking more pictures.
| Mistake | Why It Hurts the Photo | Better Habit |
|---|---|---|
| Tilted horizon | Makes the image feel careless | Use grid lines to level it |
| Cluttered background | Pulls attention from the subject | Move or change the angle |
| Harsh midday sun | Creates ugly shadows | Shoot in shade or golden hour |
| Overusing filters | Looks fake and heavy | Edit lightly and naturally |
| Taking only one shot | Misses better moments | Take many, then choose the best |
FAQs
1. How can I take better photos?
Use good lighting, focus on your subject, and keep your camera steady.
2. What is the rule of thirds in photography?
It is a composition technique that places the subject off-center for a balanced image.
3. Which lighting is best for photography?
Soft natural light, especially during early morning or late afternoon, often works well.
4. Can I take professional-looking photos with my phone?
Yes, use good lighting, clean your camera lens, and adjust the composition.
5. How can I improve photo composition?
Try leading lines, simple backgrounds, and different shooting angles.


Leave a Reply